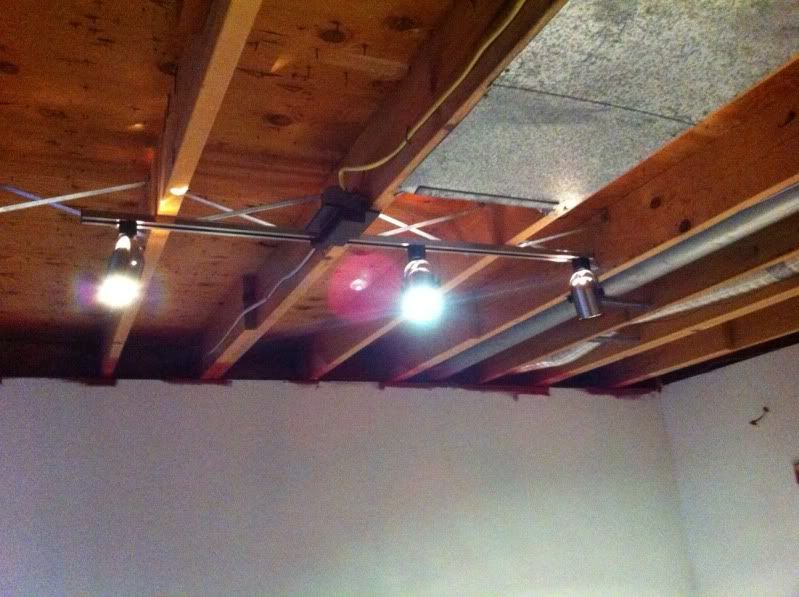
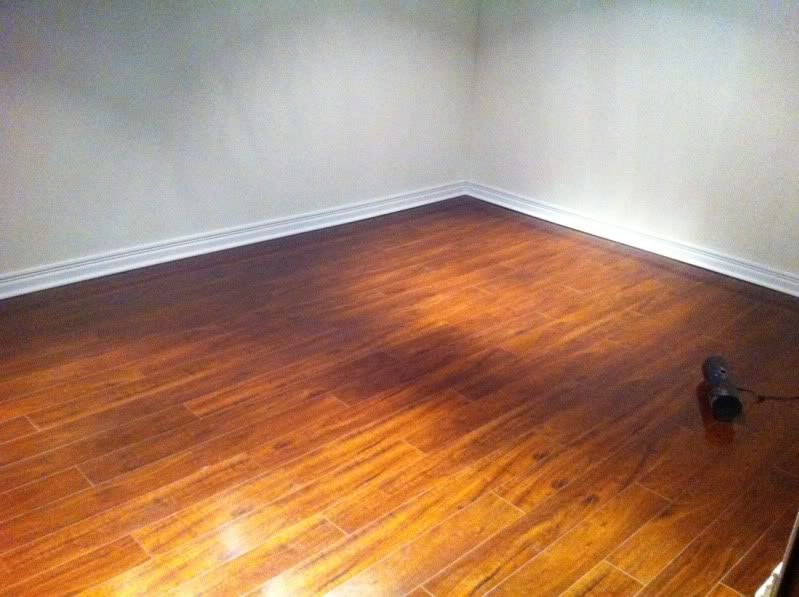
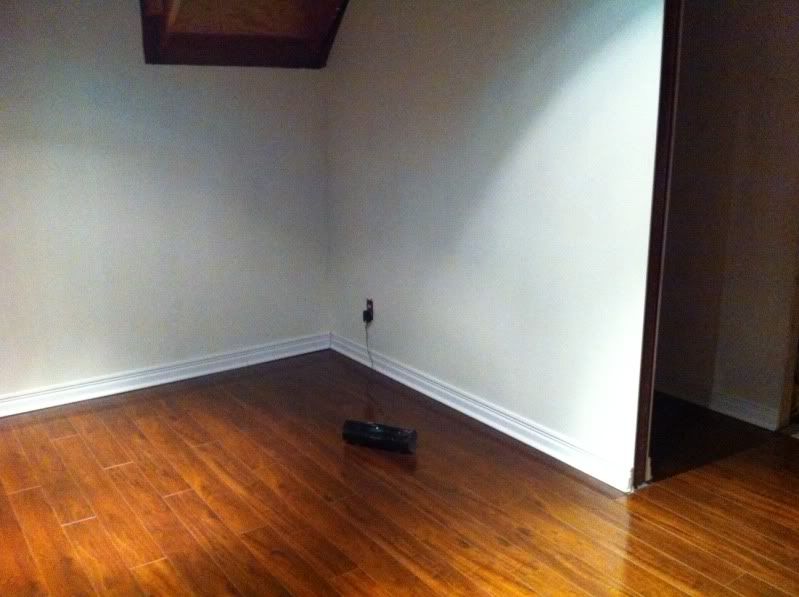
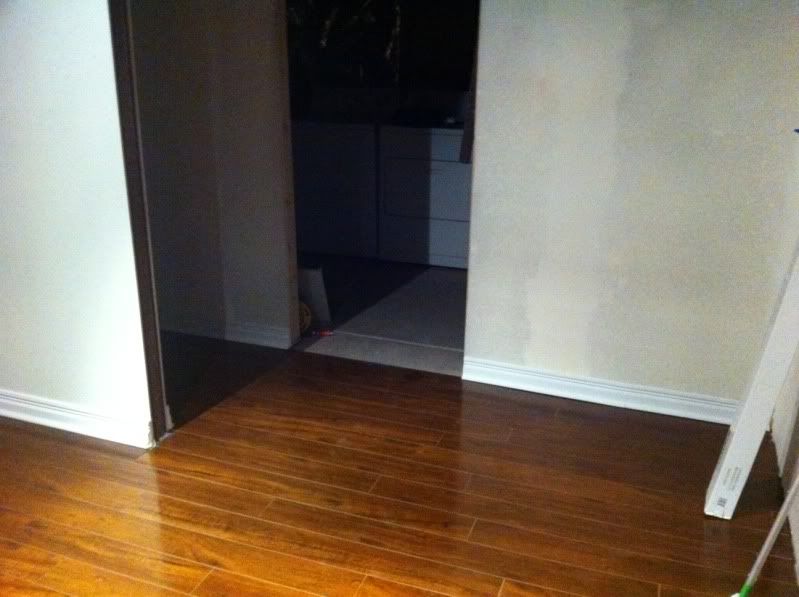
Kim & Dean
60th Anniversary R6 - '16 R1M
.
your so cra , dude....but kudos for you finishing your basement
oh i got that from Comedy Bang Bang Pod-cast....crazy.
Man, you people just talk in circles. I ask where are the floating walls because there are none in the pictures. You tell me to squint my eyes harder. I restate that there are no floating walls in the pictures. You then tell me that I kind of answered my own question. Answered my own question? I didn't ask another question. I restated that there are none in the pictures. Jesus!!!!
I'll bow-out, now. You're probably about ready to unleash that big brain on me. After all, you did publicly announce that you are breaking the law.
...and even posted pictures of your incredible carpentry skills...
Here, I'll even try to help you some more. That door frame in the picture. Since it looks like you used conventional framing for the walls, do you know what king and jack studs are? Obviously not...
Kim & Dean
60th Anniversary R6 - '16 R1M
.
You sure are questioning a lot, Dean.
On the laminate floor, there are kinds which do not require nailing. We used this in our house and it's actually held up great. Installing the first row of boards is a proper bitch as they want to slide, but I found just getting something heavy on it helps tremendously. The flooring will create friction against the floor if you use the foam underlay (ours had an install kit that supplied that), and you just do this angle-the-board-up-and-tap-it-in routine with a supplied hammer block over and over to attach them. Once they're locked into place, they are not coming apart without getting under an outside edge and lifting it. The whole floor is essentially "floating" and will have a small gap to the framing to allow for expansion, however ours has not moved. The planks are heavy by themselves and the weight of furniture will give sufficient friction to prevent any movement in our experience.
For spacing, I used a standard wood shim set on the fat end to keep spacing. They can be tacked into place if you need to and removed easily; I let the fat end tip slightly under the edge of the drywall such that the flooring basically came right up to the drywall edge as well. Then when you install the trim, it will cover that gap and look good. Oh, get knee pads. You may already have them from (ahem) other activities, they will save your patella from a lot of pain.
Asshole Nazi devil moderator out to get each and every one of you
Nothing in all the world is more dangerous
than sincere ignorance
and conscientious stupidity.
- Martin Luther King, Jr.
disce quasi semper victurus vive quasi cras moriturus
The return of MRA #321! Sponsored by Western Ambulance, Chicane Trackdays, and a very patient wife...
Have you used the Magnalock or whatever its called? With the kind that i have because it slides in i was thinking about putting about four pieces together standing up then lying them down and putting the shims against the wall then using the mud bucket to keep it from sliding around while i slide the rest of the pieces in. Hopefully the Padding will help keep it from moving also.
No, I think ours is Harmony. With this brand though you don't want to assemble large sections and push them together, it would be a rough go - better to do one at a time. I'm not familiar with what you're using, but ours has the same ridged interlocking edges that you see at Home Depot on other brands. I think the basic planks are probably all made by the same people, just different stuff on top.
Asshole Nazi devil moderator out to get each and every one of you
Nothing in all the world is more dangerous
than sincere ignorance
and conscientious stupidity.
- Martin Luther King, Jr.
disce quasi semper victurus vive quasi cras moriturus
The return of MRA #321! Sponsored by Western Ambulance, Chicane Trackdays, and a very patient wife...
Finished the trim last night, gotta get a door for the utility room, finish the ceiling, paint the hallway walls, install a new banister, paint the stairs, wallpaper the wall on the window, frame the window.....a lot of damn work .
New track light (thanks Rob)
Re painted my blood wa...i mean walls.
No ceiling
No expert, but don't you put up track lighting after the ceiling is up?
Bulldog's Motto: F*ck around and I'm going to bite you!!!
Yes you are correct but the ceiling project is not going to happen for another year (money, time) and i was tired of using shop lights to see what the hell i was doing.
I am going to do ceiling tiles and because it is a track light all i have to do is turn the power off pull the connector that supplies the power to the track and remove the two screws holding the track doesn't take more than 5 minutes sice i don't have to dick with any wires.
Cool, looks good so far man!
I've been debating to use that wood floorw laminate or get the real wood floors I have resanded (either by me or pay someone). The real wood would probably make the house more valuable, but laminate seems easier and without the huge mess of sanding. May justs wait till I sell this house; so much easier to do when rooms are empty.
Bulldog's Motto: F*ck around and I'm going to bite you!!!